
The big news from Microsoft over the last week has been the announcement of Windows Terminal. An open source project from Microsoft currently up on GitHub. Windows Terminal allows you to run multiple tabbed CLIs from the one window. Not only that but they can be a mix of different CLIs --cmd, PowerShell, Python, Bash, etc. Pretty cool right. Windows Terminal is GPU accelerated ¯\_(ツ)_/¯ . Will allow for transparent windows, emojis, and new fonts.
As of today there are no pre-built binaries of Windows Terminal from Microsoft, that’s planned for sometime in Winter 2019 (that’s Northern Winter people), only the source code is up on GitHub. 1.0 release isn’t planned till at least the end of the year. The code is still very Alpha but never the less I decided to see what’s involved in building and running Windows Terminal on Windows 10.
Below I listed the steps and process I took to build and run Windows Terminal if anyone is interested in trying it out themselves. There’s a number of prerequisites required but nothing to difficult.
Prerequisites
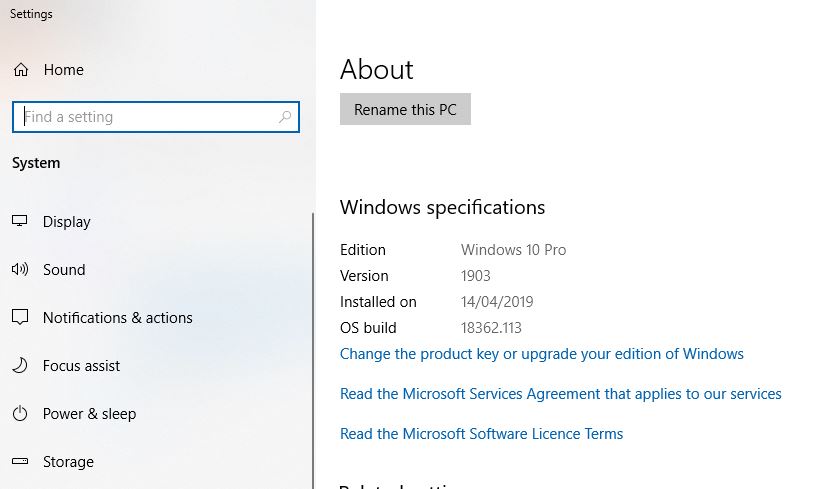
Windows 10 (Build 1903)
As of today (May 2019) you need to be in the Windows Insider program to get this version. You’ll need to enable this inside of Windows 10 and download the latest build.
Visual Studio 2017 or newer
You can probably use a different IDE though I ended up using the community edition of Visual Studio 2019 which is a free download. Microsoft specifically calls out a few packages that you need if you’re running Visual Studio.
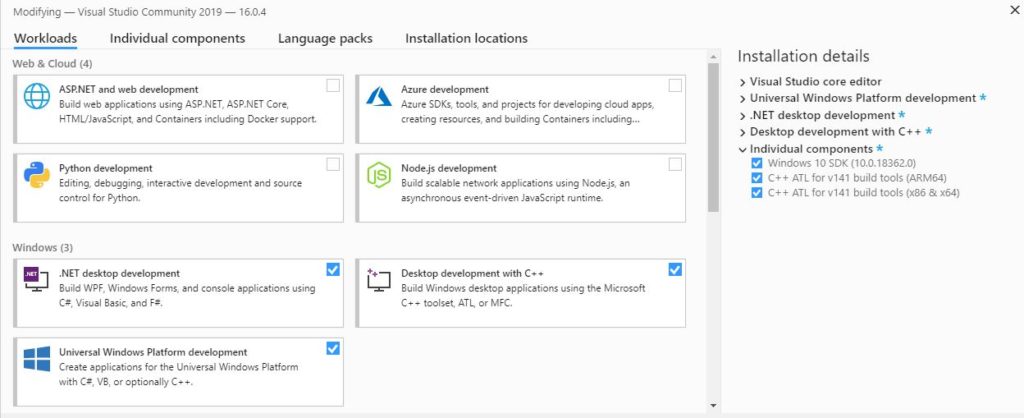
- Desktop Development with C++
- If you’re running VS2019, you’ll also need to install the following Individual Components:
- MSVC v141 -- VS 2017 C++ (x86 and x64) build tools
- C++ ATL for v141 build tools (x86 and x64)
- If you’re running VS2019, you’ll also need to install the following Individual Components:
- Universal Windows Platform Development
- Also install the following Individual Component:
- C++ (v141) Universal Windows Platform Tools
- Also install the following Individual Component:
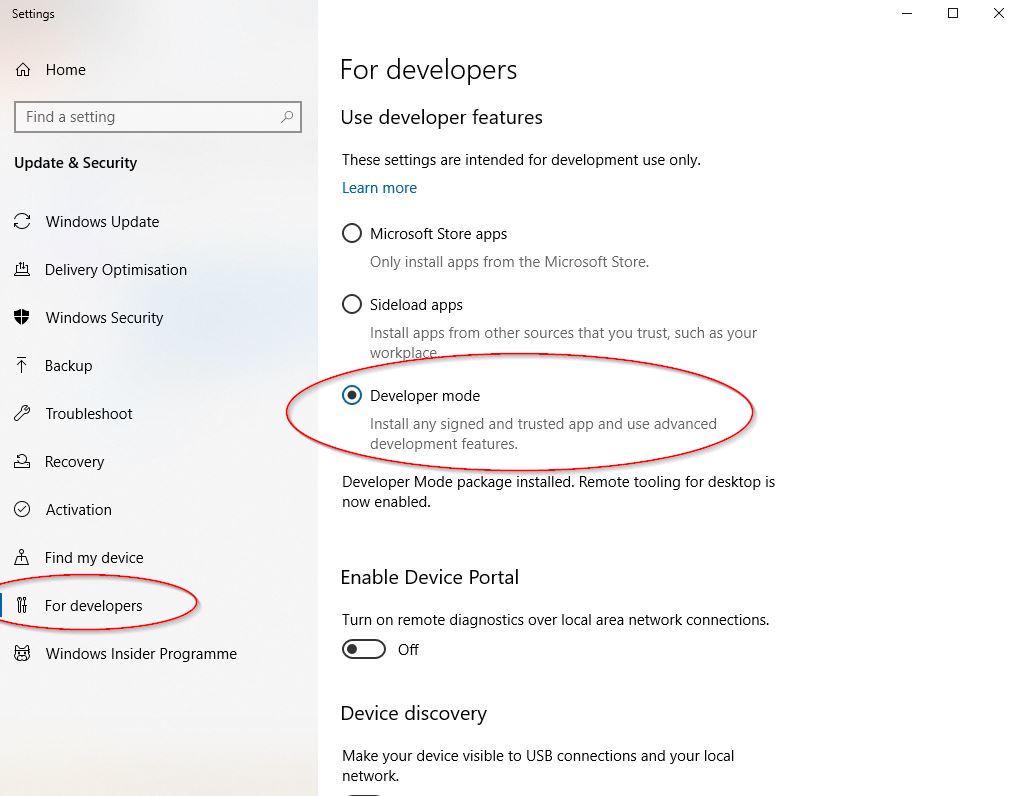
Developer Mode in Windows 10.
Build and Deploy Process
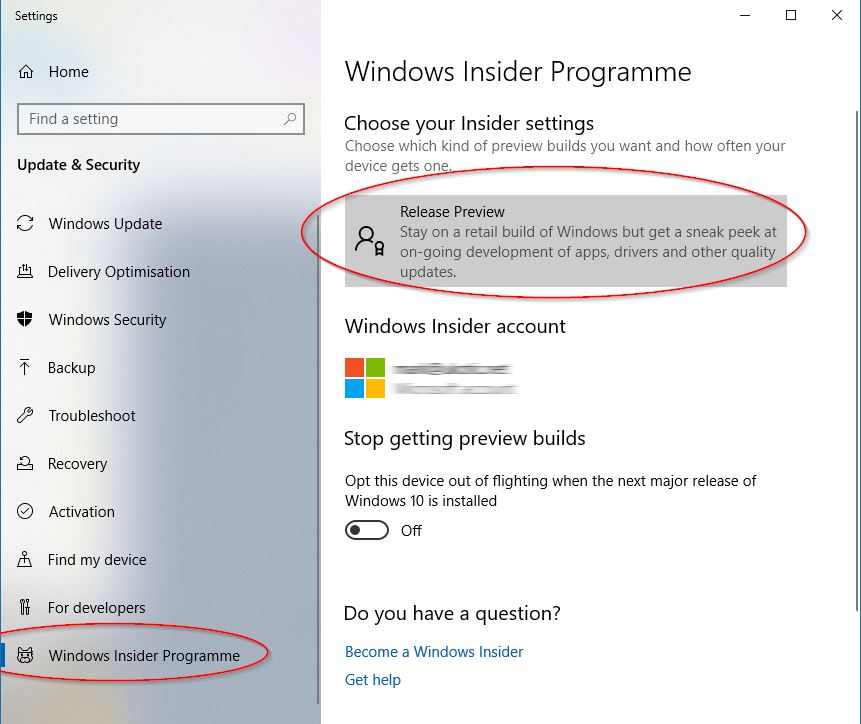
The first thing you want to do is check that you’re on at least Windows 10 build 1903. You can check this by going to Settings > About. If you’re not on at least this build you can turn on Release Preview by going to Windows Insider Programme under Settings.
Next you want to make sure you’ve enabled Developer mode. You can do this in Settings > For developers
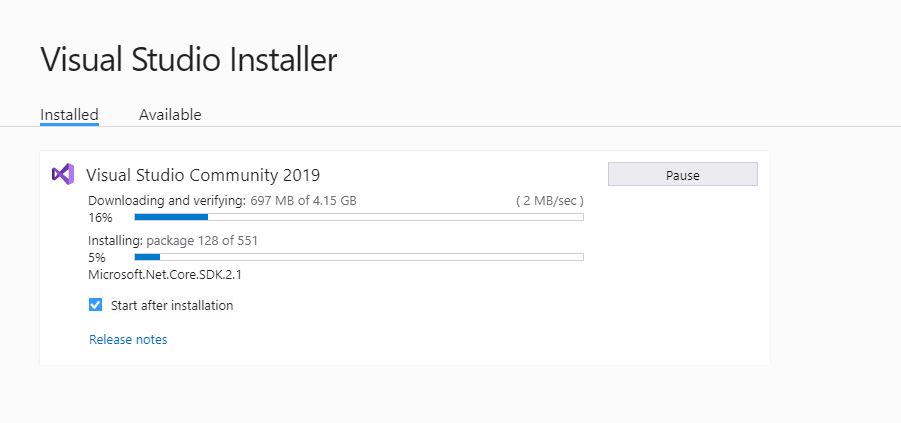
Now we can grab Visual Studio 2019 Community Edition. This is a super small and quick 20 GB download and install. <sarcasm emoji>
Make sure you select the right Workloads and Individual components from the prerequisites above.
Once the install completes comes the fun part of building. Skip the Visual Studio wizard and go to File > New > Repository
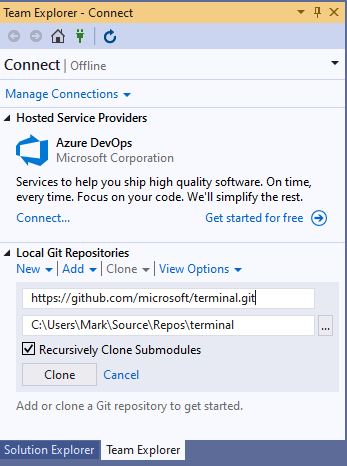
Under the Team Explorer window select Clone and enter in the Windows Terminal git path (https://github.com/microsoft/terminal.git). Make sure Recursively Clone Submodules is selected. Windows Terminal relies on git submodules for some of its dependencies. You’ll need around 200 MB to download the repo.
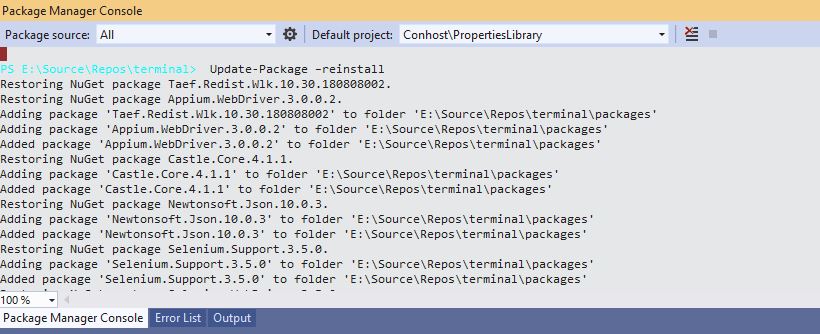
Once the package downloads you may receive an error that some NuGet packages are missing in the Error List. Even if you don’t it’s still probably a good idea to just update the packages.
Go to Tools > NuGet Package Manager > Package Manager Console. Then in the Package Manager Console type in Update-Package -reinstall
Head over to the Solution Explorer window and select Solutions and Folders view and select OpenConsole.sln
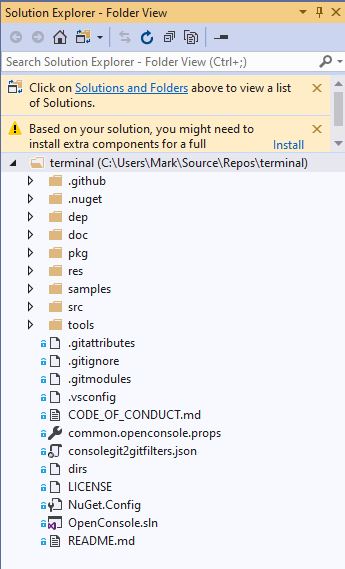
We’re now just about ready to build. Up in the top menu bar select Release for the build, x64 for the architecture, and CascadiaPackage for the package to build.

All things being equal we should be ready to now build. Select Build > Build Solution. Initially I had a few fails here, which were all down to available space. You’ll only need around 12 GB for a build to succeed <another sarcasm emoji>. It should take a few minutes and hopefully when complete you get a successful build with no errors. Finally select Build > Deploy Solution.
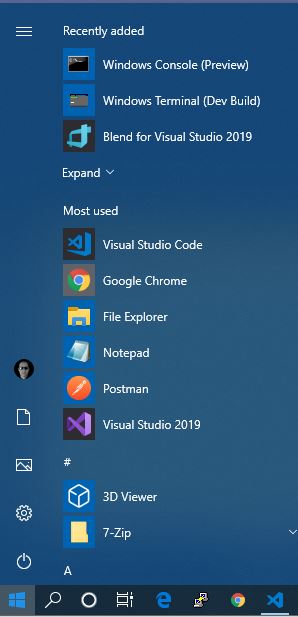
Once deployed you can find Windows Terminal (Dev Build) on your Start menu which you can now run.
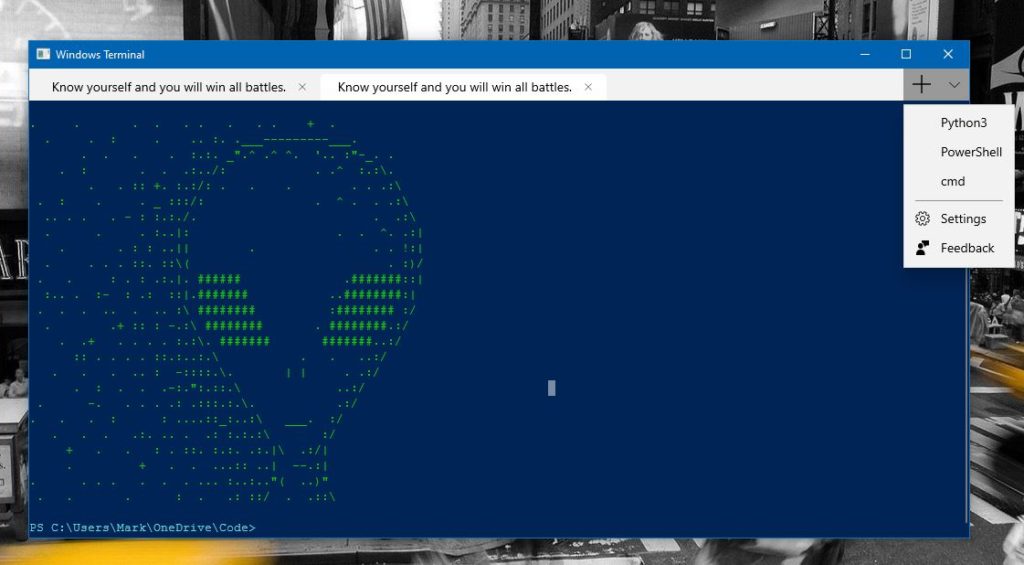
When you first launch Windows Terminal you won’t see any tabs. Pressing CTRL+T will open a second tab and display a pull down menu where you can further select different CLIs. Settings can also be found under this menu which can be modified via a json file. It’s in the profiles.json file you can change transparency, fonts, colours, and of course add new types of CLIs.
Windows Terminal is still very rough around the edges. Microsoft are calling this a very early alpha release and this does show. It is exciting though to see what is coming. Windows Terminal has huge possibilities. I’ll be following it closely over the coming months and looking forward to spewing out emojis all over my terminals. 🙂 😮