VMware Aria Automation Cloud Consumption Interface (CCI) – Part 1
Setting Up Single Sign-On for CCI – Part 2
Configuring the CCI Infrastructure – Part 3
In part 1 of this series on the VMware Cloud Consumption Interface (CCI) I discussed some of the basics of what CCI is and what capabilities it can provide to our developers and users in Aria Automation. In Part 2, I will now go into how to begin preparing and configuring your environment so you can start using CCI. This post will focus on the vCenter portion of the configuration for CCI.
The first thing we need to do is setup Single Sign-On (SSO) between our vCenter and Aria Automation. VMware has some good documentation on how to perform this task. I’ll walkthrough the same process here.
Prerequisites and Requirements
VMware documentation calls out that we need VCF SDDC Manager 5.1.1. But if we’re playing with this in a lab environment it’s ok to skip this. There’s no hard requirement for this to make CCI work.
We of course will need Aria Automation, version 8.16 or higher. In my lab I am using 8.17. As will as vCenter, 8.0U2 or higher. I am using 8.0U3. And hopefully it goes without saying, that we need a Supervisor cluster deployed.
Next we need to download a few files from VMware. A YAML file, which we will use in vCenter and a Python script, that will we run against Aria Automation which will return idpConfig. You will need a system that has Python installed with connectivity to your Aria Automation server. The below references for these files are from AA 8.17 documentation and link to VMware’s jFrog repository. Make sure you reference the links for your specific AA version. Doco reference link will be at the bottom of the post for AA 8.17.
- Service definition YAML file: cci-supervisor-service.yml available from https://tinyurl.com/4ymxv7pd.
- Python script: service_config_from_automation.py available from https://tinyurl.com/5xpkenus.
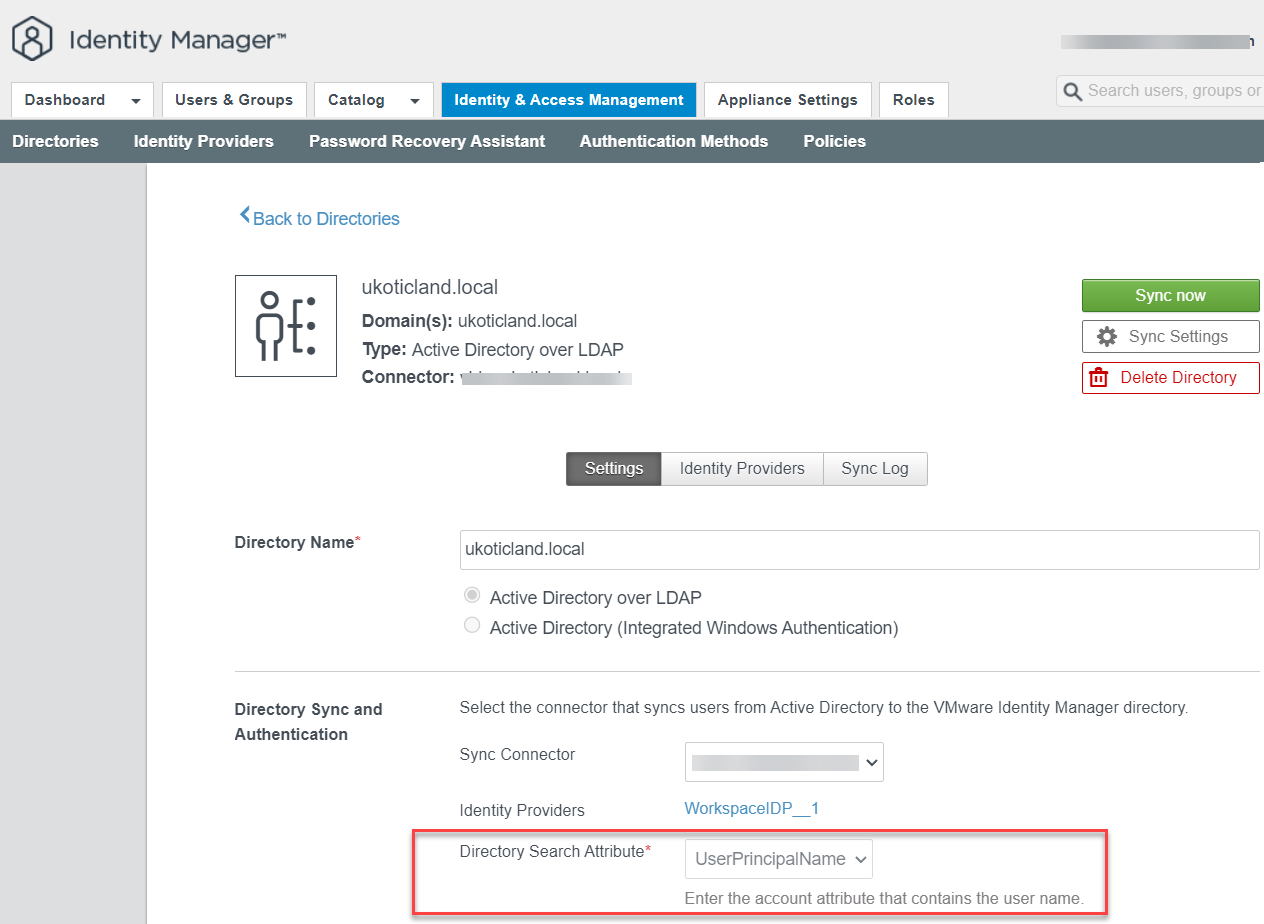
Lastly we need to make sure in Workspace One Access (VMware Identity Manager) that the default Directory Search Attribute is set to UserPrincipalName. It’s worth noting that by default when setting up a directory source in vIDM to AD, sAMAccountName is used. If UserPrincipalName is not used, you will find issues when attempting to assign RBAC users to CCI Projects in AA. RBAC Groups may work still though with sAMAccountName. So user beware here if not using UserPrincipalName.
Registering the CCI service with vCenter
With those requirements out the way head over to your vCenter and navigate to Services under Workload Management.
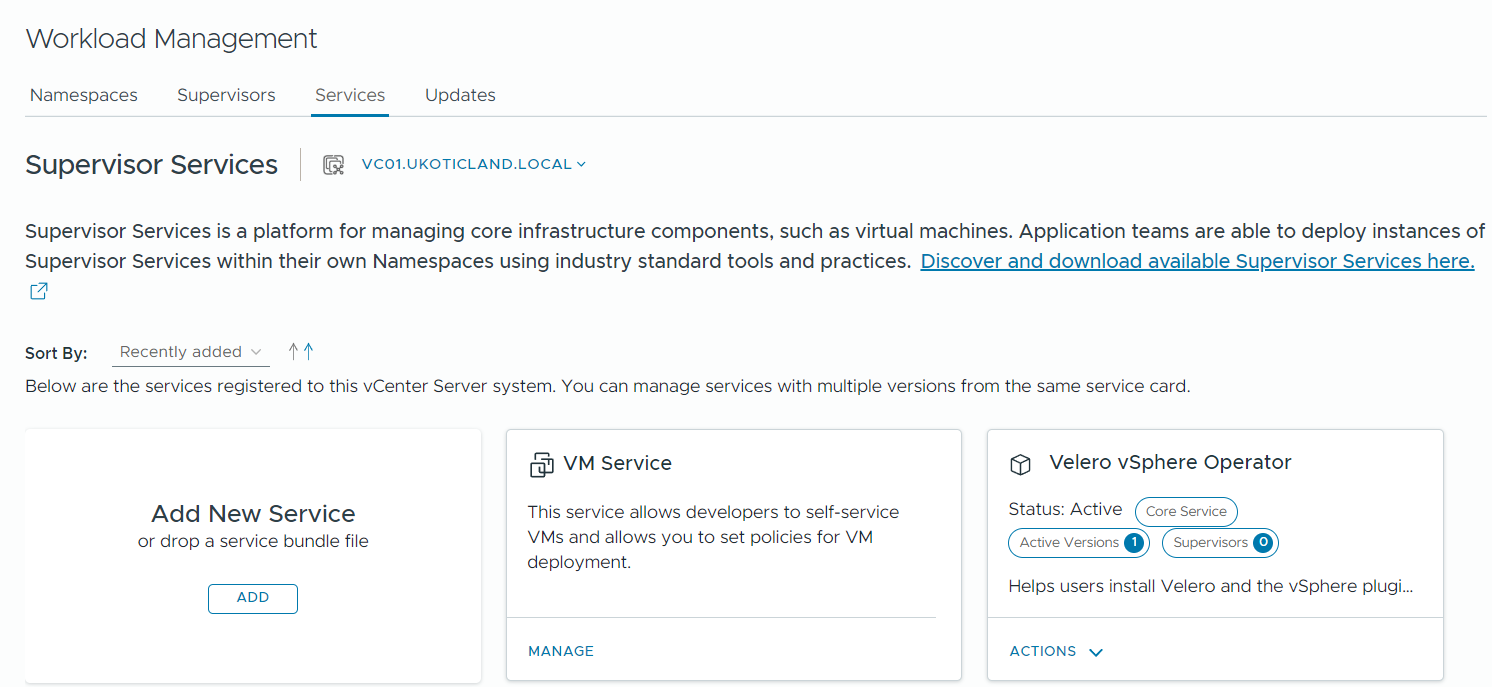
On the Add New Service tile click Add.

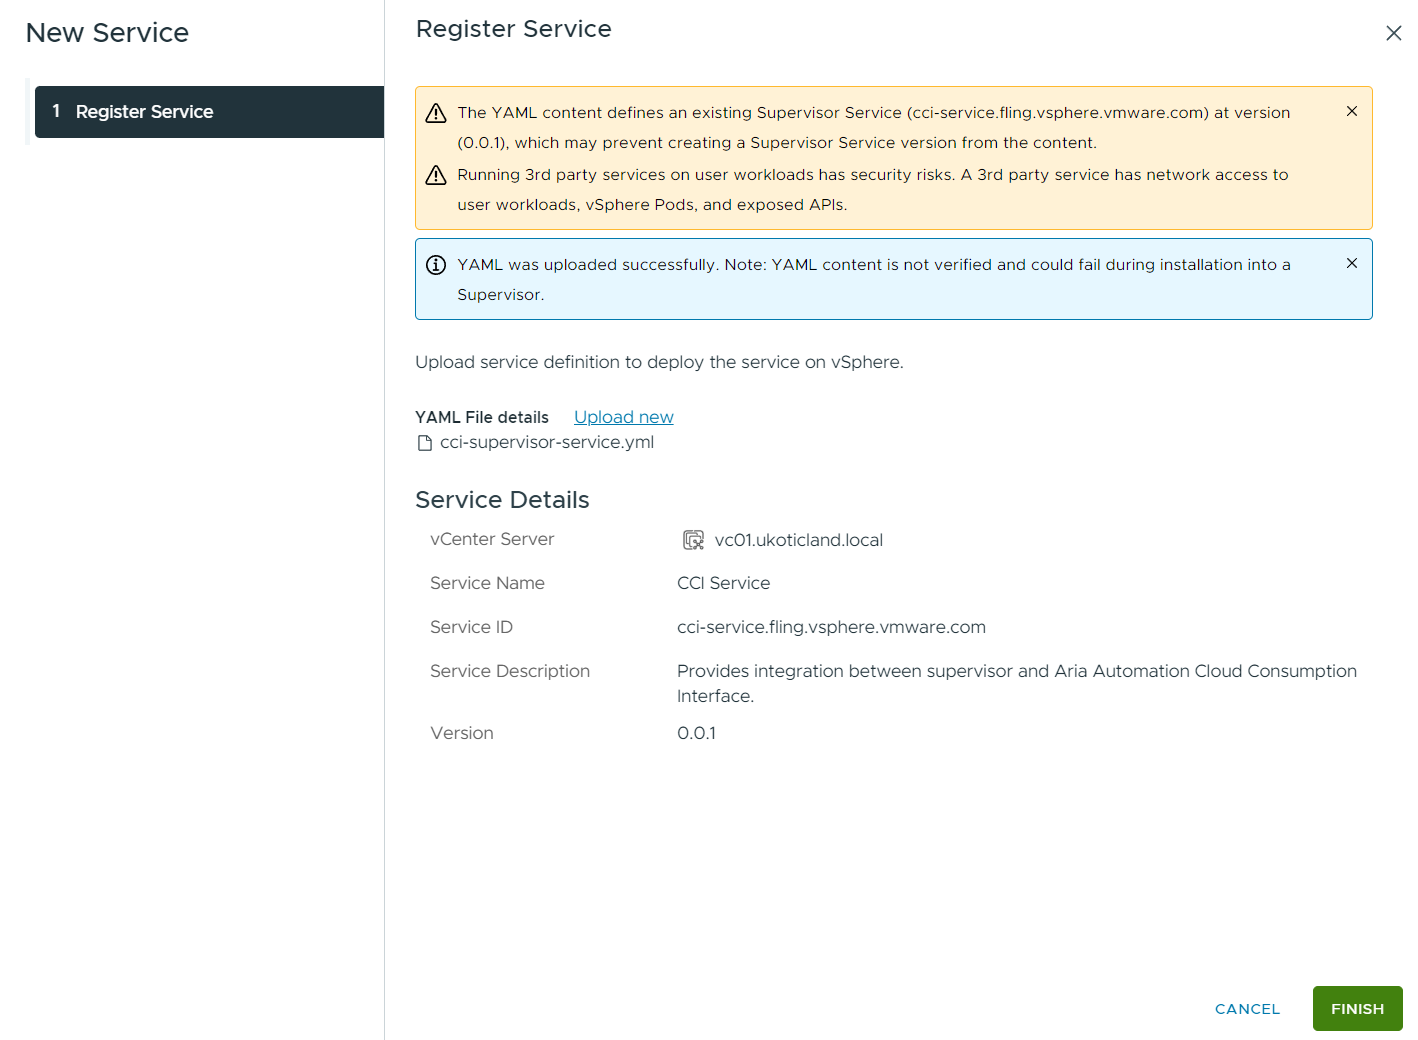
On the New Service page, click Upload to Register a new service and select the cci-supervisor-service.yml service definitions file you downloaded above. Then click Finish.
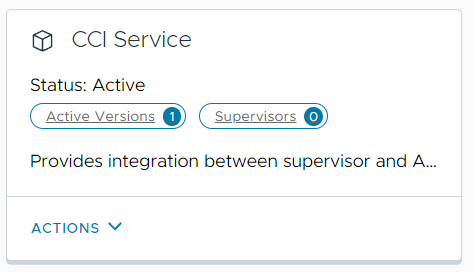
A new Supervisor service tile will appear called CCI Service.
Install the CCI service on the Supervisor
The last step is to install the CCI service on your supervisor. This is where we have to run that second Python script we downloaded above. This will extract idpConfig from AA. In my case I installed Python on my desktop and ran the script pointing to my Aria Automation instance.
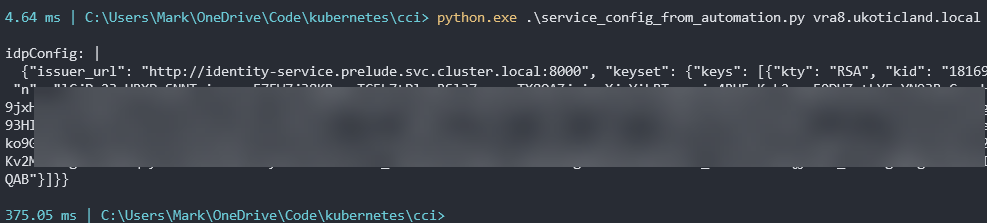
Copy and store the output, as we will paste this as YAML code shortly to install the CCI service.
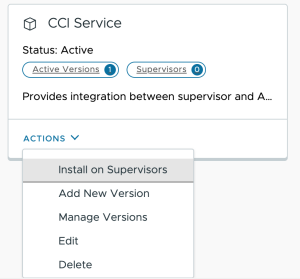
Head back over to vCenter on to the CCI Service title. Click Actions and then Install on Supervisors.
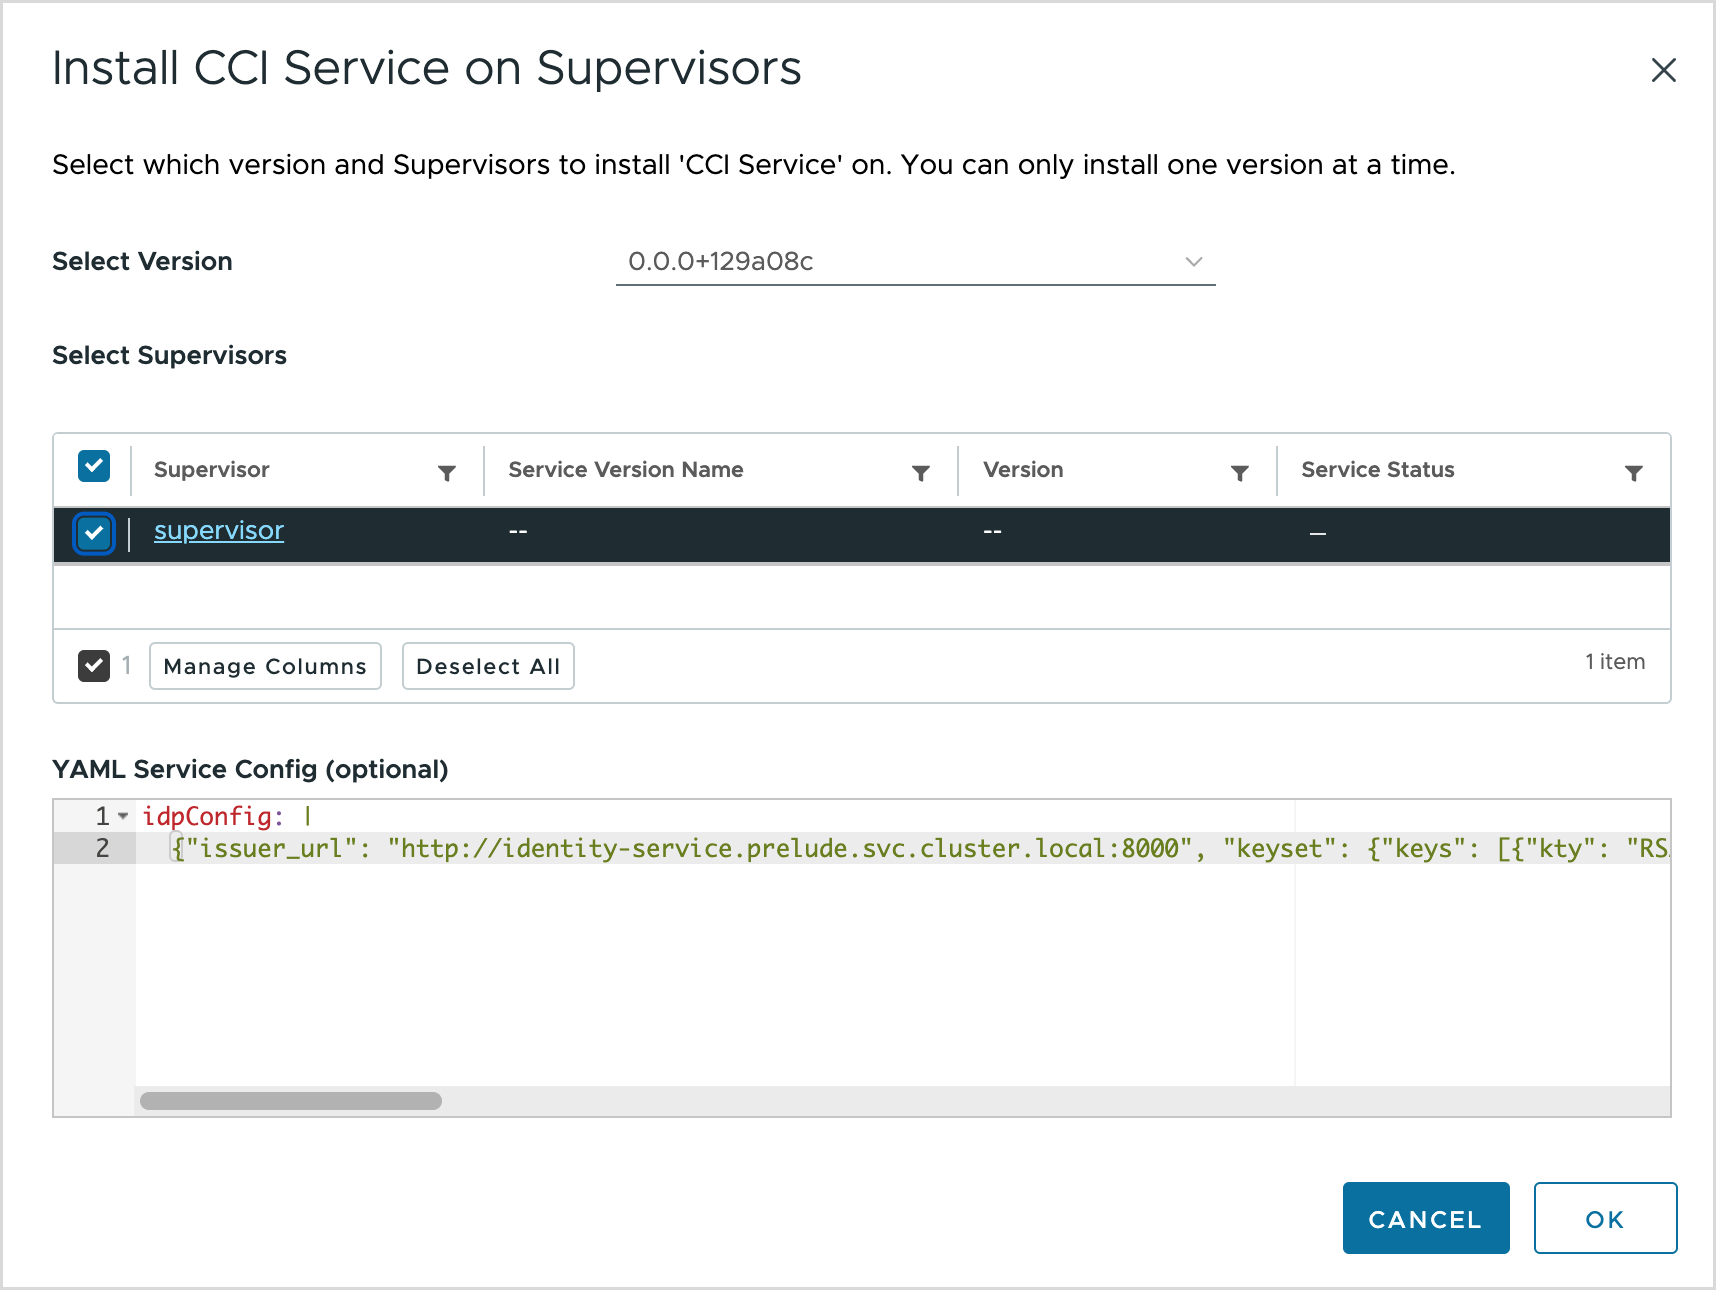
The Install CCI Service on Supervisors dialog box will appear. Select your Supervisor/s. Then paste the idpConfig code you copied above into the YAML Service Config section. Finally click OK.
At this point a container image will be downloaded by your Supervisor Control Plane cluster from https://projects.packages.broadcom.com and installed as a vSphere Pod under a new namespace created by CCI. You can verify if this has been successfully deployed by going to Namespaces and finding the namespace called svc-cci-service-domain-xxx.
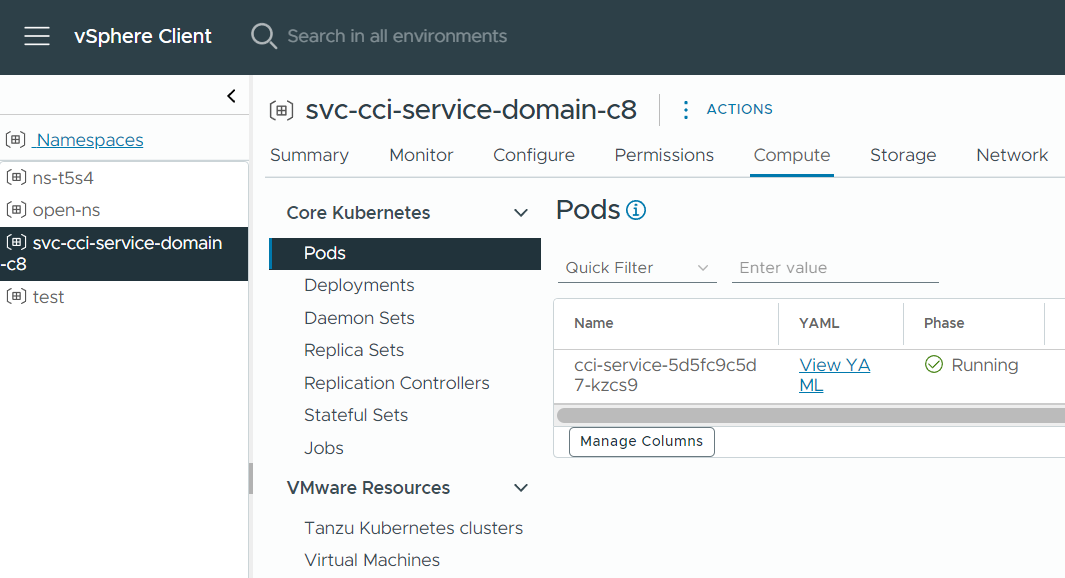
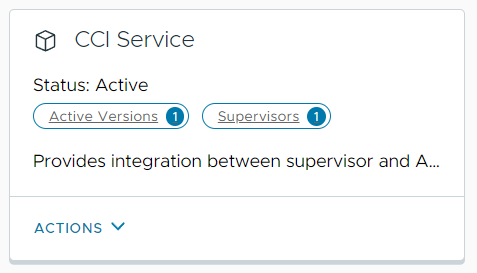
Once this Pod is successfully deployed you should see that the CCI Service tile should now have a Supervisor associated and configured.
This completes the setup and configuration of SSO for CCI inside of vCenter. In the next post I will move onto configuring the CCI infrastructure within Aria Automation.
References
Setting Up Single Sign-On for CCI (Aria Automation 8.17)