HCX is a magical tool. It allows “Modernization of Mission-Critical Application Infrastructure with a minimal operational overhead, without requiring a retrofit of your legacy infrastructure“. It’s a mouthful right, straight from the HCX product pages. My explaination, in clearer terms, is “it allows you to connect one vCenter in one SSO domain to another vCenter in another SSO domain and migrate VMs“. That’s about as simple as I think I can put it. Yes it can do other stuff but in a nutshell this is its biggest use case.
It’s this exact scenario that I want to try and cover in the next few posts. Deploying and configuring HCX in a datacenter to migrate between two on-prem vCenter servers. Going from a legacy vCenter environment to a new SDDC environment with NSX. I plan on covering just the fundamentals to get HCX up and going as quick and easily as possible.
This guide is going to be long, there’s no way around that. We will initially cover the installation in the destination / target site using the Cloud version of HCX. Along the way I’ll call out anything notable. I recommend going through the pre-installation checklists and covering off the requirements prior to starting.
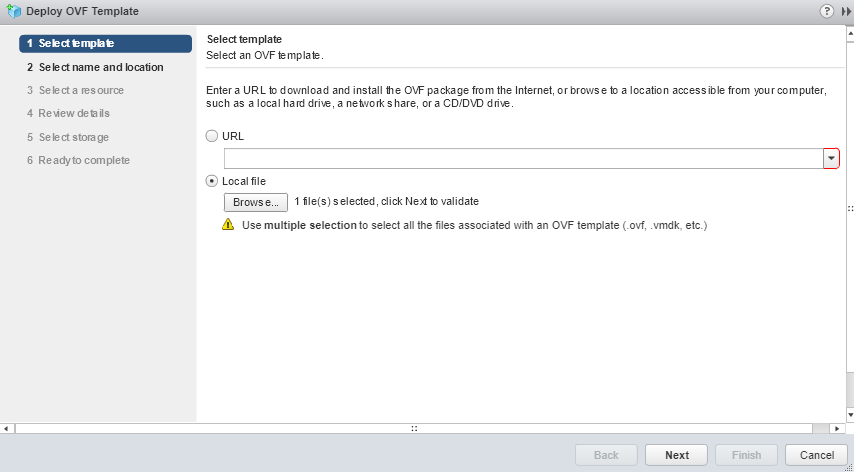
The first thing we want to do is download the HCX Cloud installer from the My VMware portal and start an OVF deployment. I’m basis the deployment off the R133 release. I recommend using the old Flex Client vs the new H5 client which will no doubt fail to deploy the OVF.
Give the HCX Cloud manager a name and location to deploy.
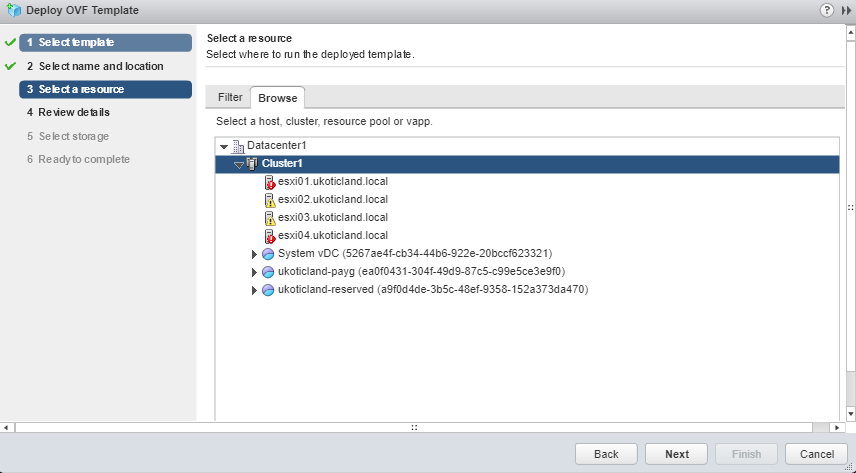
Select a Datacenter and Cluster.
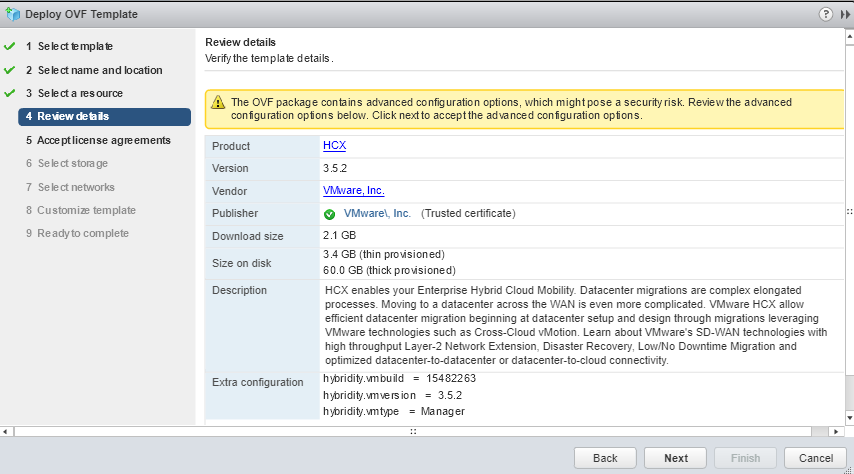
The OVF Template will validate and present its details.
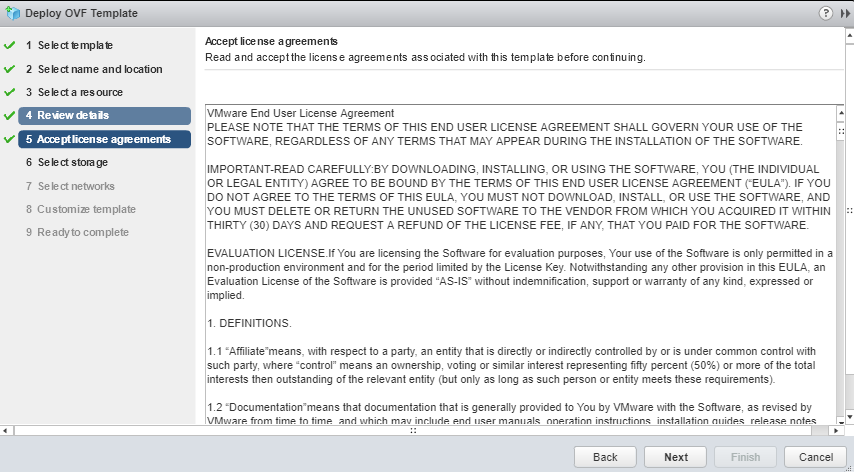
Scroll down and accept the license agreement.
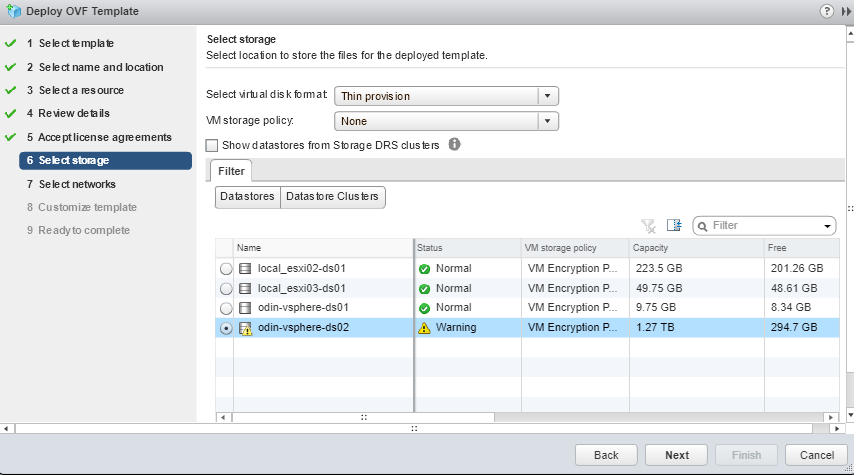
Select your storage and policy.
Select your network. It’s critical you pick a network that has good connectivity to the rest of your network to save yourself a lot of grief later on. HCX connects to many different services. Ideally it’s on your same management network as vCenter and the rest of your services. There’s a good London Underground PDF map of all the services and ports you will require. If your using firewall rules between your services and network segments this will no doubt be one of the more trickier tasks.

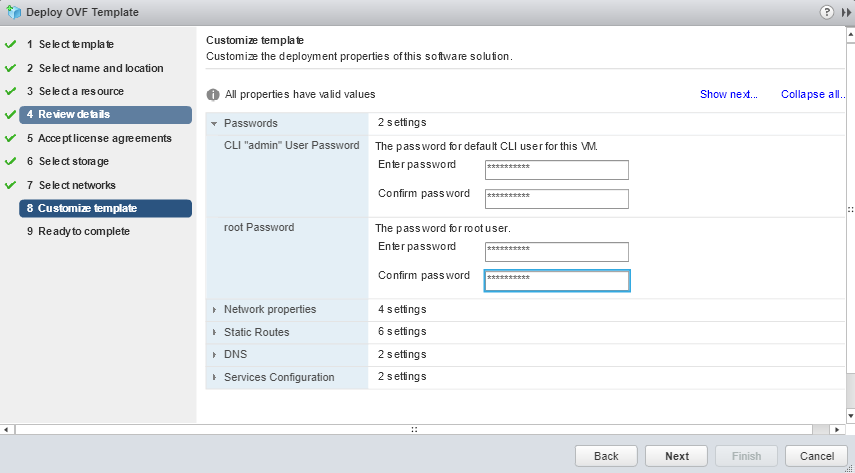
Fill out all the customisations. Passwords, IP addresses, DNS, NTP, etc.
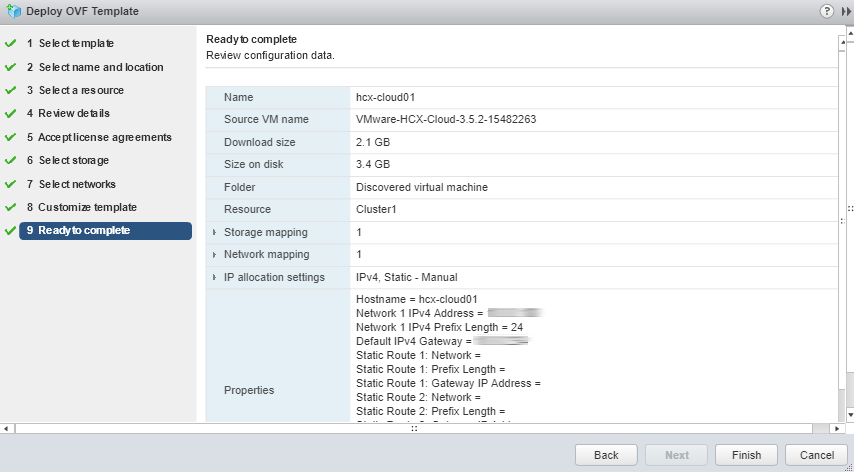
Review your settings and deploy the appliance.
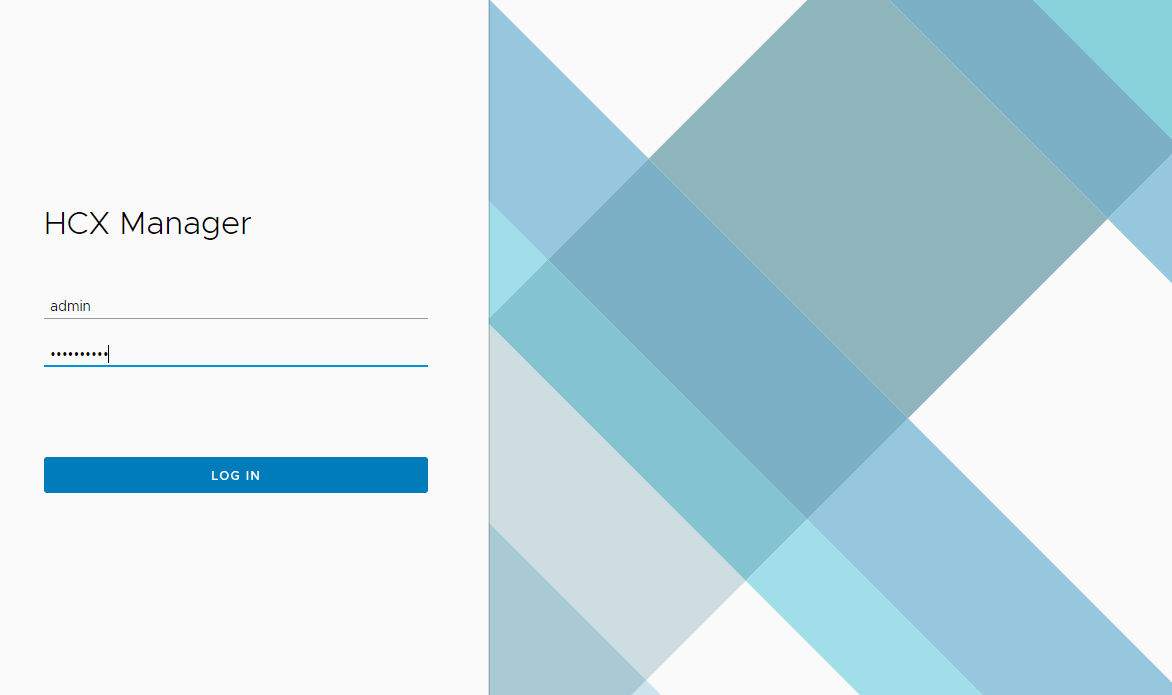
Once the OVF is deployed, power on the VM and browse to its URL on port 9443 to start the configuration wizard (https://hcx-manager:9443). Login with admin and the password you defined during deployment.
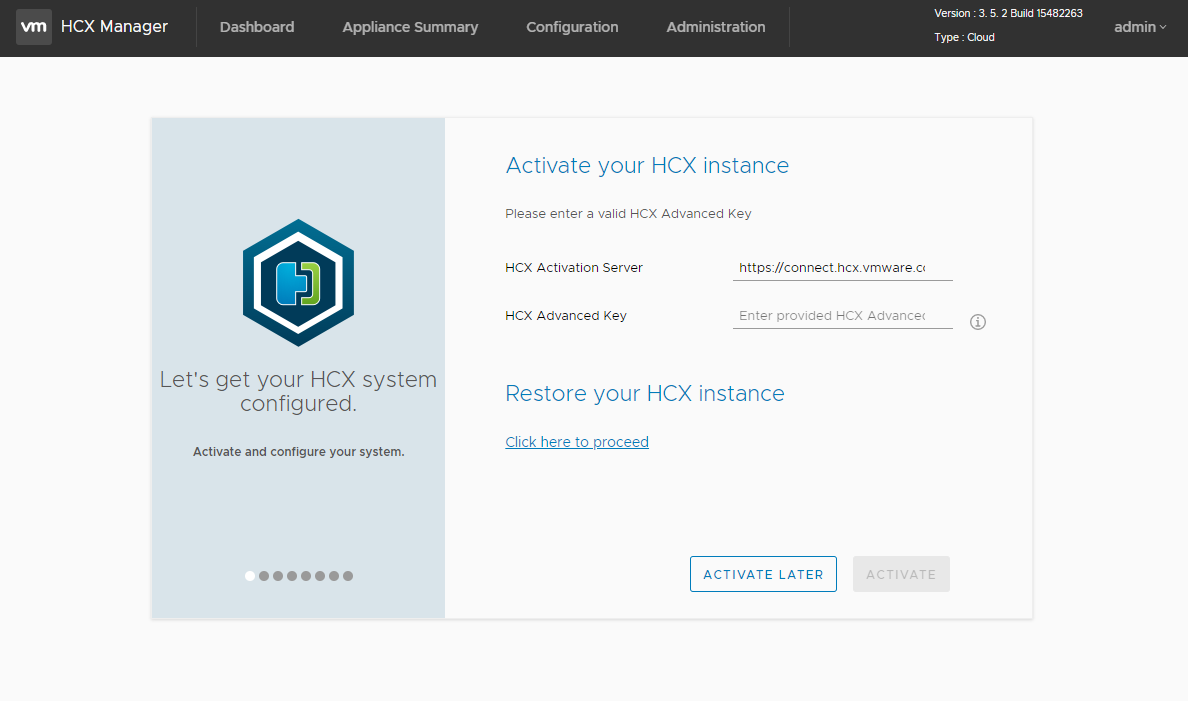
Once you login you are given the option to Activate the HCX instance. You can skip this step for now and Activate later. Notice that the type is Cloud. Cloud is what other HCX types (Cloud & Enterprise) connect to.
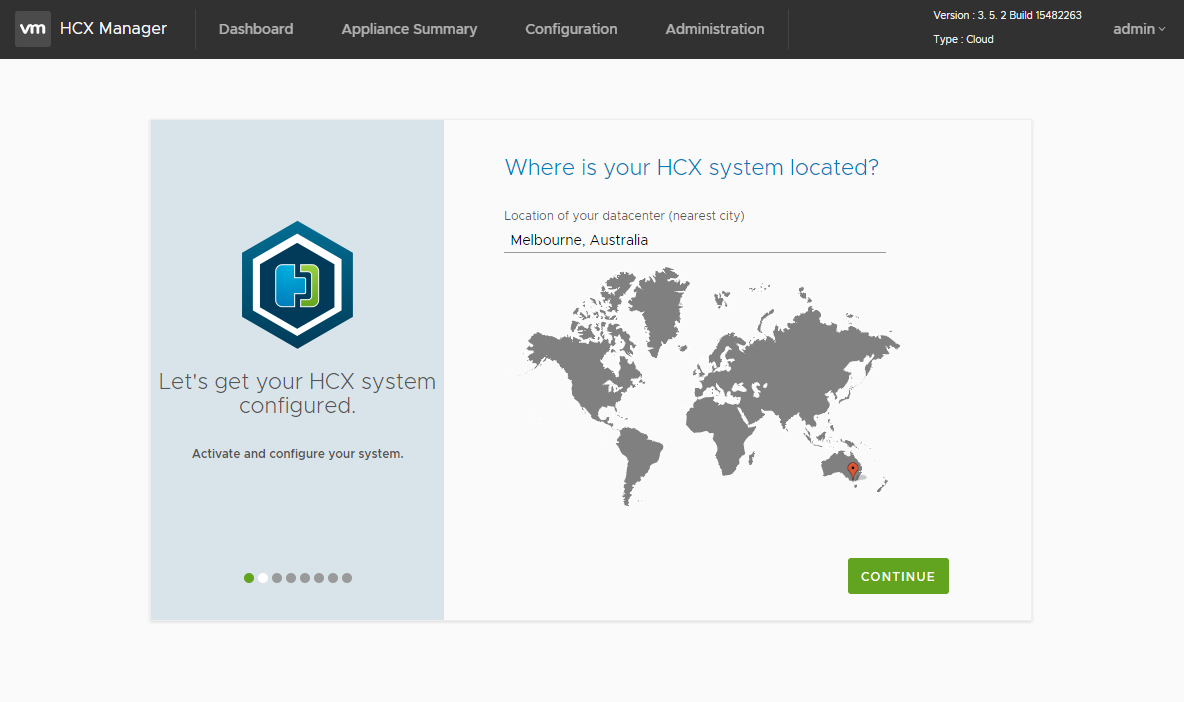
Define the location of your datacenter. This really doesn’t matter what you select.
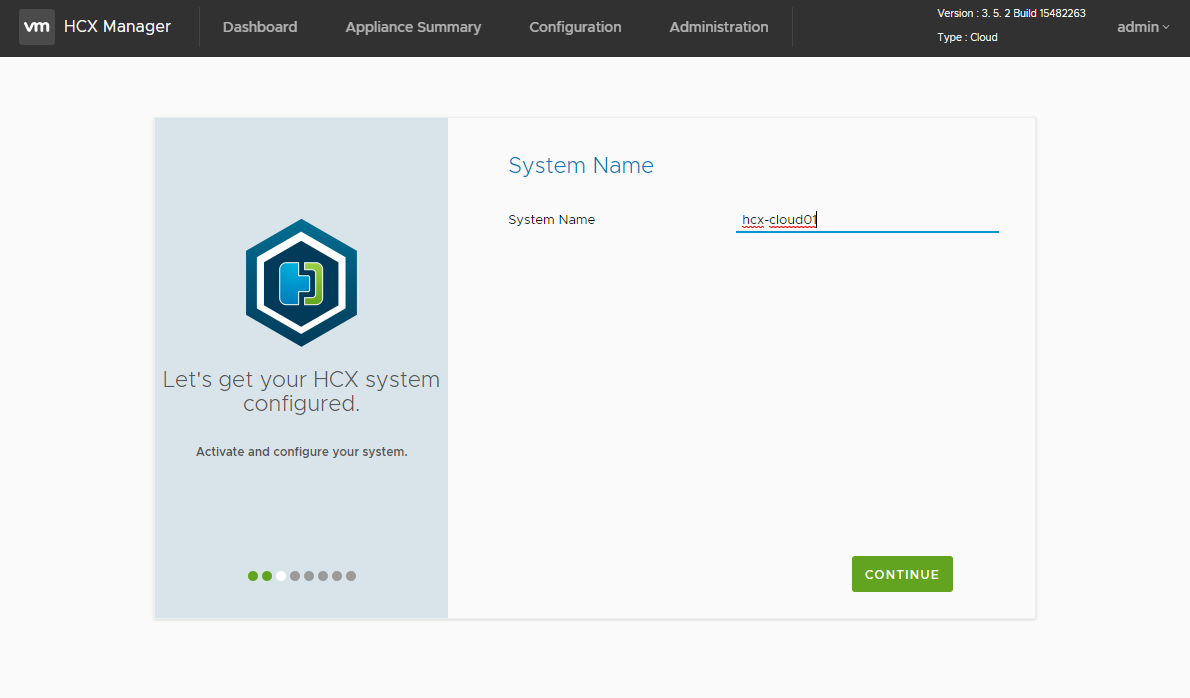
Give the manager a system name (hostname).
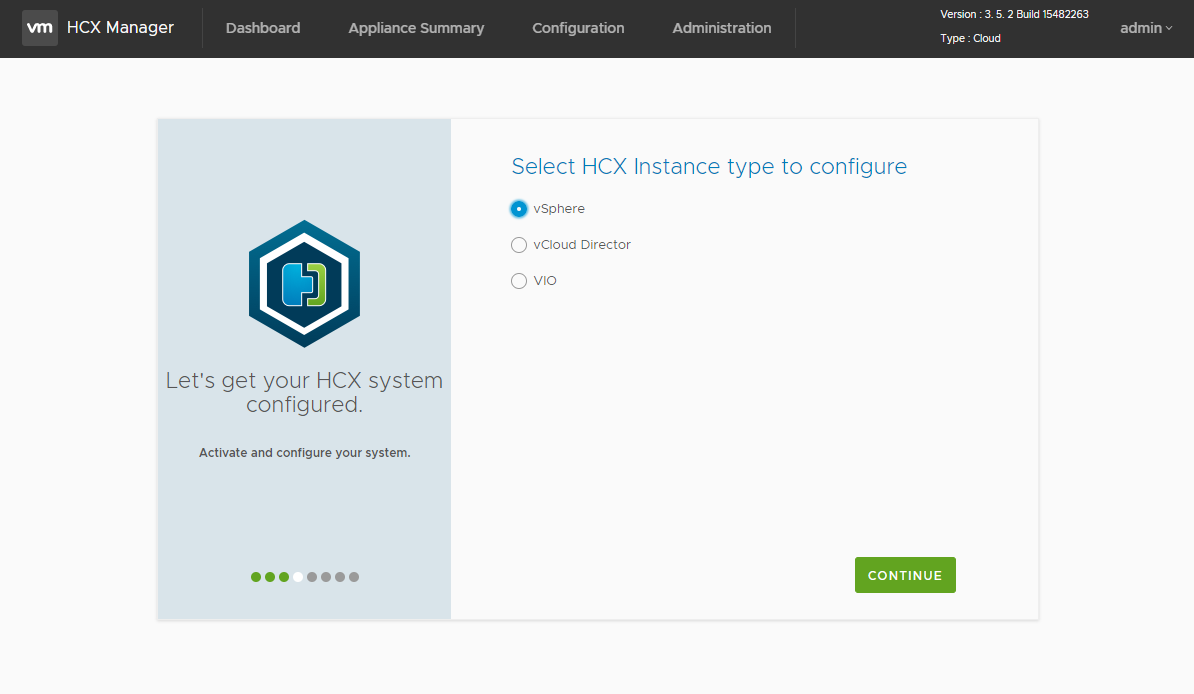
Select the type of instance to configure. vSphere in this case.
Next we configure vCenter and NSX details that we want to pair up to. This is the vCenter and NSX Manager in the destination / target site we are deploying to. HCX Cloud Manager requires NSX. HCX Enterprise does not. Enterprise can only pair to HCX Cloud but Cloud can pair to other HCX Cloud Managers. This is an important point if you have more than two vCenters and you want to create multi site pair relationships.
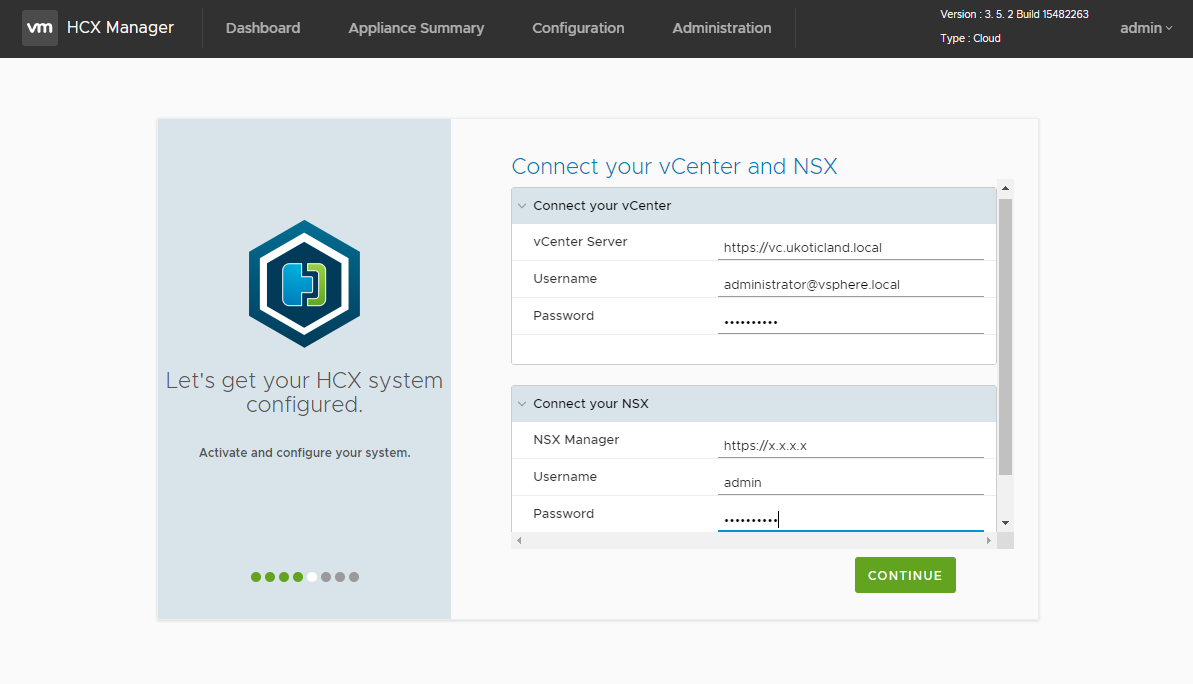
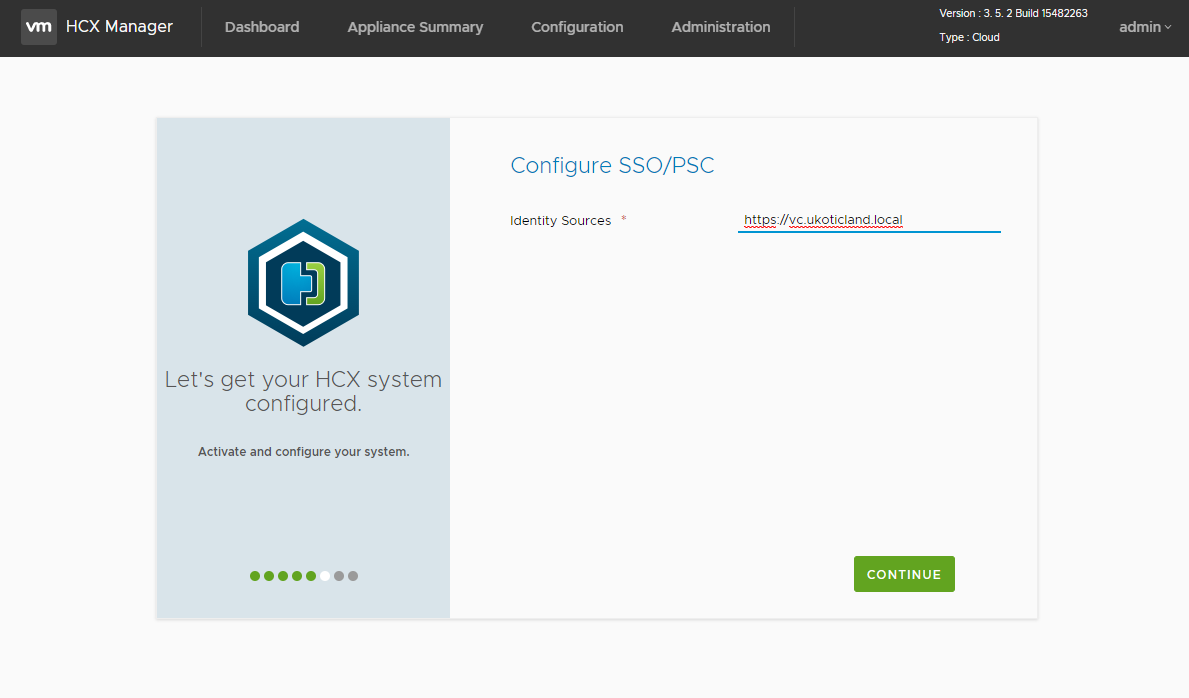
Enter in your PSC details. Internal, External, whatever the flavor of the month was when you build vCenter.
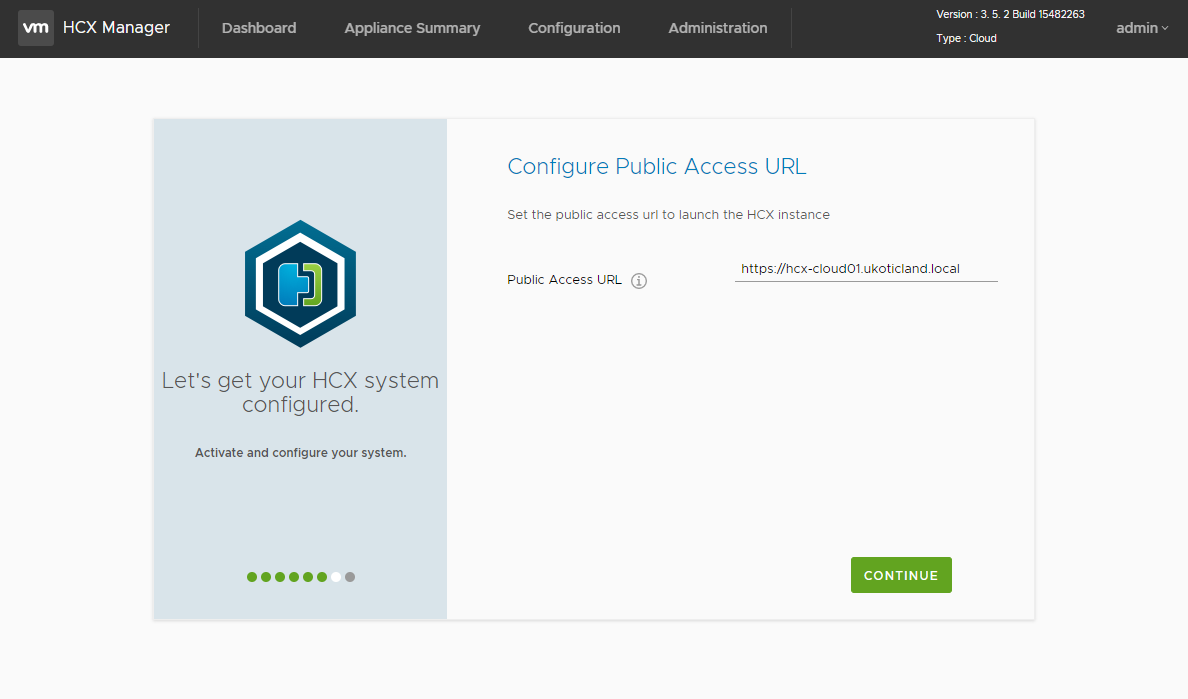
Add in the public URL of this HCX Cloud Manager. Most likely this is just the same as your internal DNS name you gave this server.
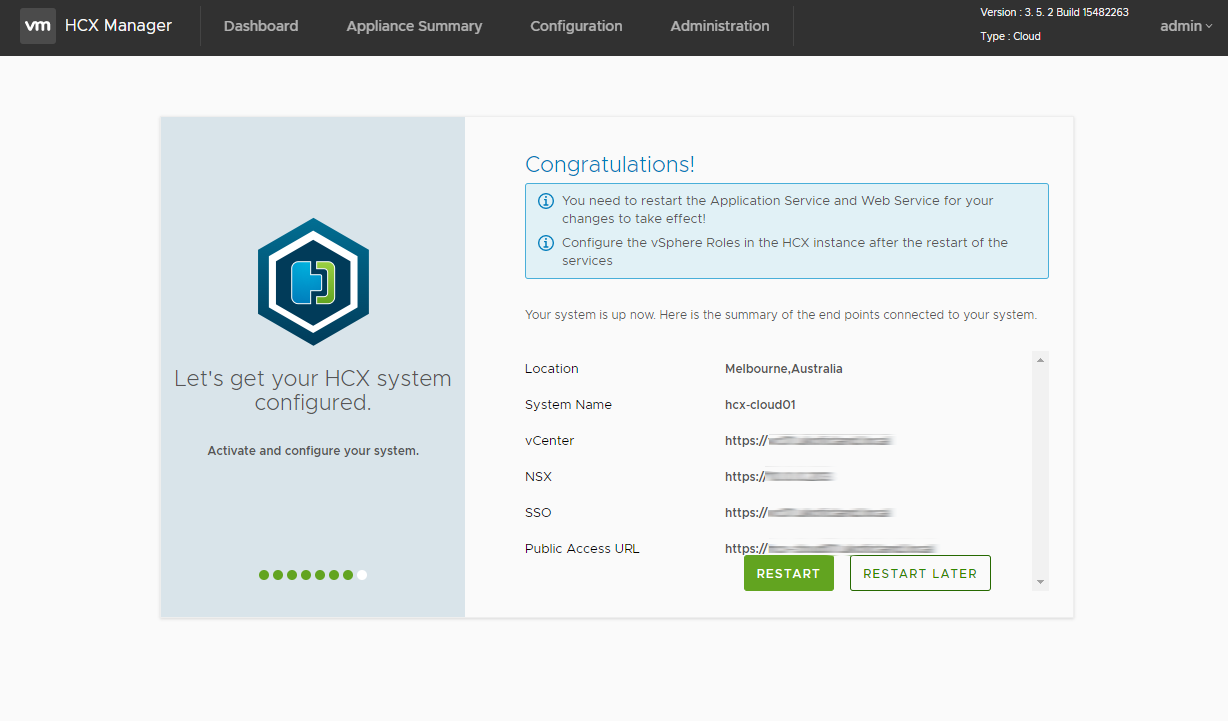
Finally review your settings and click restart. In a few minutes it will auto login to the management interface.
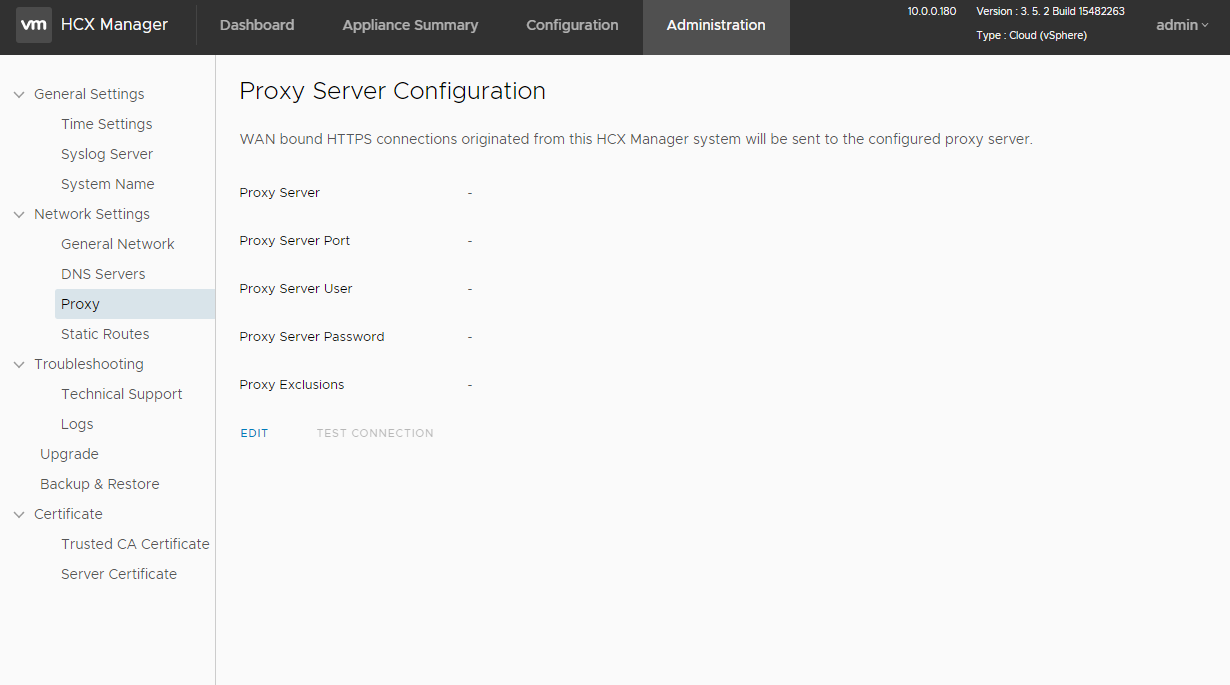
We’re on the home stretch now. Just a few final pages to check. Click on the Administration Tab and if you’re using a Proxy enter it in. HCX Manager needs to access two external URLs. (connect.hcx.vmware.com and hybridity-depot.vmare.com). I also recommend putting in your internal networks in the Exclusions.
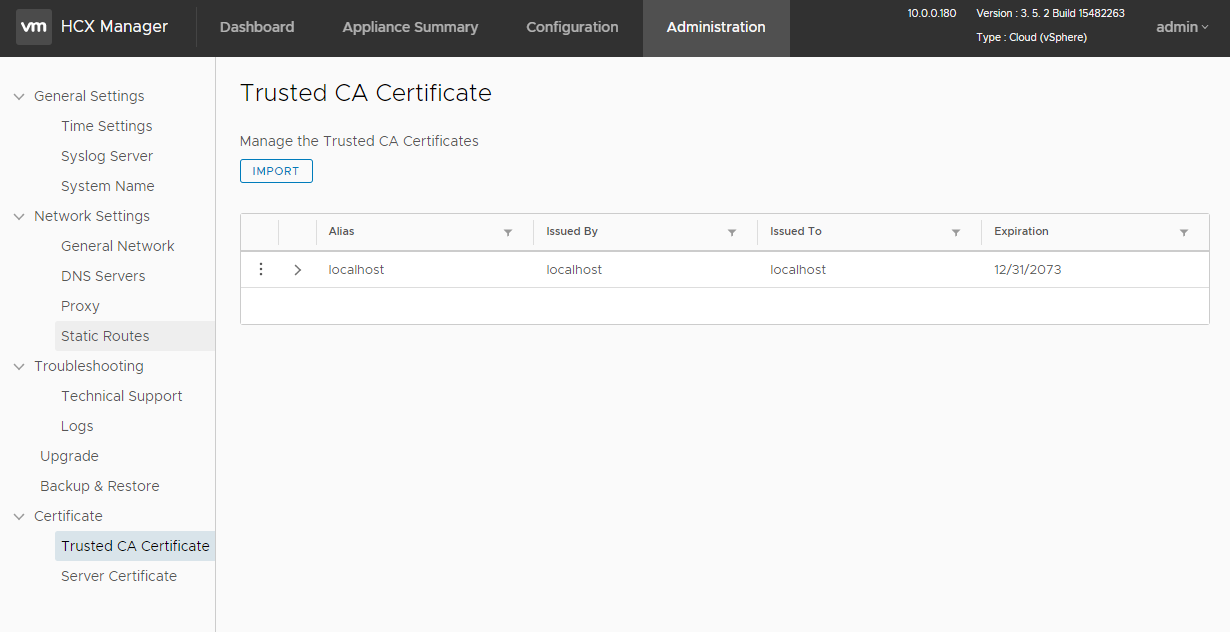
The last thing we need to update on this tab is the Trusted CA Certificates. If you’re using Self-Signed certificates for HCX you need to add them here. You haven’t built a second HCX Manager yet so when you do come back here and add it in. I also like to add in my vCenter servers and NSX servers I’ll be using. I do this really just to sanity check that HCX Manager still has connectivity to this servers after I add a proxy server.
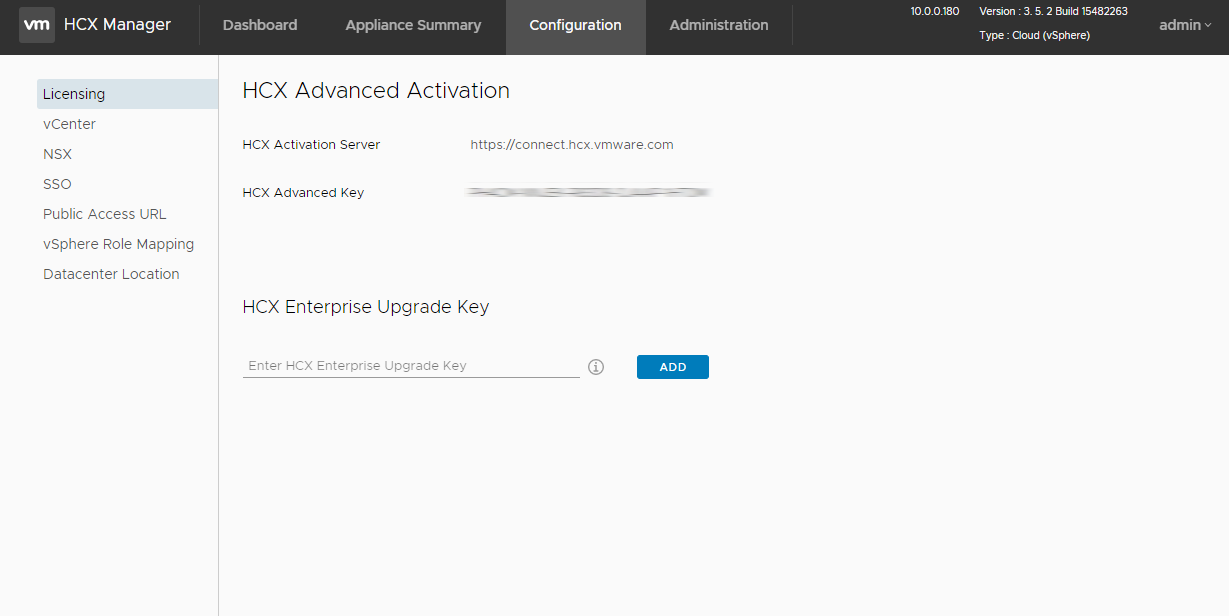
Now head over to the Configuration Tab. You can now enter in your HCX Advanced Key under Licensing. In my case I’m using my NSX key. You may also have an HCX Enterprise key for advanced features but I won’t be discussing any of them so we can ignore it for now.
Finally update the vSphere Role Mapping. This is granting access to log into the User Interface of HCX Manager.

Head over to the Appliance Summary Tab and give the appliance one last reboot and we’re done with the appliance configuration.

Super simple right? Now do it all again for the second HCX Manager in your second (source) datacenter! You have two options at this stage. Use the same HCX Cloud Manager installer or log into the HCX Manager User Interface (drop the 9443 in the URL) and under System Updates download the Enterprise version. Again, the difference being that Enterprise doesn’t ask for or use NSX, at least in the use case I’m covering.
In the next part I will cover creating Site Pairs and Interconnects between these two HCX Managers. This will all be performed from the source site HCX Manager.