Action Based Extensibility (ABX) is a feature of vRealize Automation 8 that uses Functions as a Service. You can create ABX scripts that are triggered during Lifecycle events in vRA. ABX scripts supports several languages.
One of these languages supported is PowerShell, specifically PowerShell 7 in vRealize Automation 8.2 +. Using Dependencies in ABX you can have an PowerShell Action automatically download modules from the PowerShell Gallery. This, of course, requires connectivity to the Internet. But what happens if your vRA instance doesn’t have internet access? How can you download and use additional PowerShell modules in ABX and in your code?
ABX Zip Packages are a way of packaging your PowerShell Code is such a way that it contains your executable script (or scripts) along with any additional modules that it may use. By having the code and modules self-contained within a zip package it removes any dependency on internet access that Cloud Assembly may need.
A PowerShell zip package can be create on either Windows or Linux. In the below example I run through the process using a Windows box. I’ll be using a module from the PowerShell Gallery I’m very familiar with, Have I Been Pwned, my own module I created for the Have I Been Pwned service created by Troy Hunt.
Installing PowerShell
The first thing to do is download and install PowerShell 7 if you don’t already have it. You can find it over in the PowerShell GitHub repo https://github.com/PowerShell/PowerShell/releases/. Download the appropriate release for your PC. In my case I downloaded the 64bit MSI installer.
Building the package and folder structure
Before we actually write code for our ABX action we will build out our folder structure and download our required module into it for offline use.
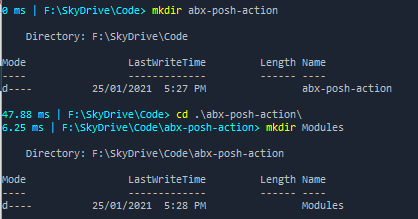
From the PowerShell 7 CLI, create a folder to work out of.
mkdir abx-posh-action
Inside of this folder make another folder called Modules
mkdir Modules
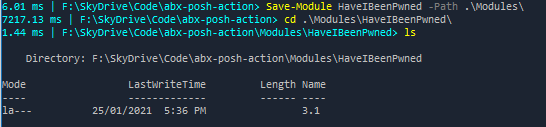
Next use the Save-Module cmdlet to download a local copy of the module you require (HaveIBeenPwned in my case). By default this should be from the PowerShell Gallery.
Save-Module HaveIBeenPwned -Path .\Modules\
What you should see is that the module was download locally into the Modules directory and inside that module will be another directory representing the version of the module and all it’s accompanying code.
PowerShell Script
It’s at this stage that we can write our PowerShell script. This is the core ABX code we will use to run an Action in Cloud Assembly.
Just as if you were normally writing your PowerShell code for an ABX Action. You place all your code inside a Function, commonly called handler.
function handler($context, $inputs) {
    $result = get-pwnedpassword -password $inputs.password
}

Once you’ve completed writing your code, you save the file in the root of the folder you created above. The file name can be anything you prefer but should have a .psm1 extension, signifying that it is a PowerShell Module file.
Creating the ZIP Package
To create the actual ZIP package / file I like to use 7-Zip. It’s free, simple to use, and can be used in the enterprise. It can be downloaded from 7-zip.org.
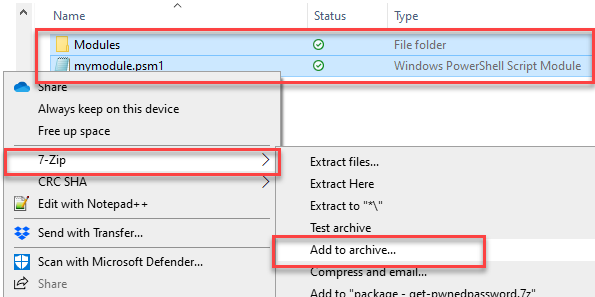
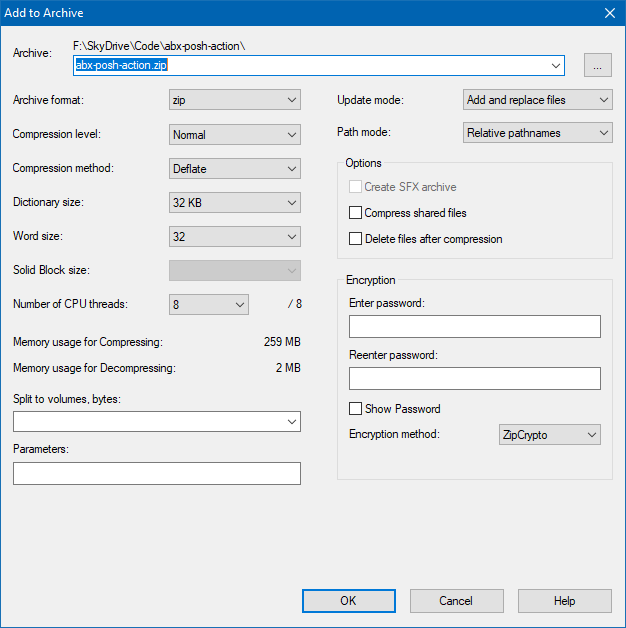
Once installed I select all the files and folders in my working directory I created. In my case it’s mymodule.psm1 and the Modules Directory which contains the Have I Been Pwned module I saved from the PowerShell Gallery. I right click, select 7-Zip and select Add to archive.
Note: I’m not trying to zip the top level folder I originally created. I’m selecting and zipping the individual files and folders within it.
No additional settings from the defaults need to be changed here. Just make sure that Relative pathnames is selected. We want our .psm1 file and the Modules directory to be in our root level of our zip file.
Creating the ABX Action
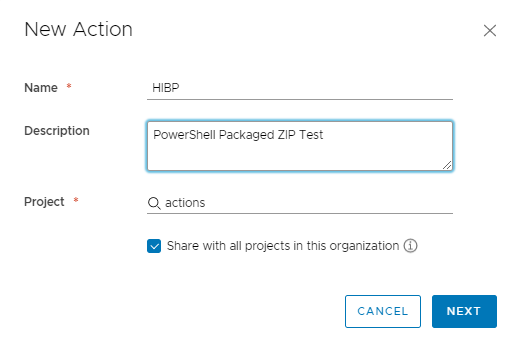
We can now created our ABX Action using this ZIP package. Log into vRealize Automation and in Cloud Assembly go to Extensibility > Actions. Select New Action
Give your Action a Name, Description, and select a Project.
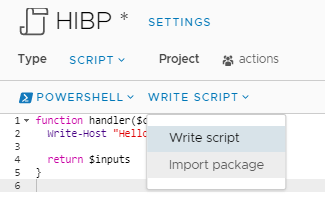
Next change the language from the default Python to PowerShell. Then select Write Script and select Import Package.
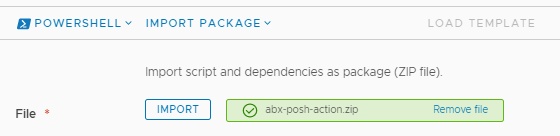
Click the Import button and select the zip file we created above.
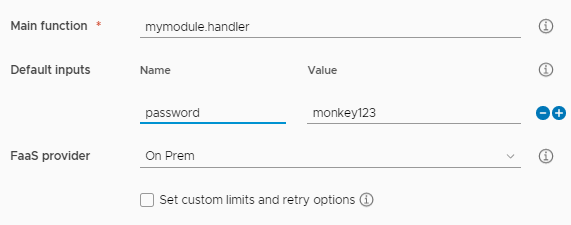
On the right pane we need to fill in a few missing pieces of information. We have to provide the Main function. This is our entrypoint. This is what ABX will attempt to first run after it loads our modules. In my case this is mymodule (no extension) followed by the name of the function inside this module, which is handler.
If you noticed above I had a variable in my code. This was $input.password. So i need to denote something in my default inputs. Lastly I change my FaaS provider to On Prem.
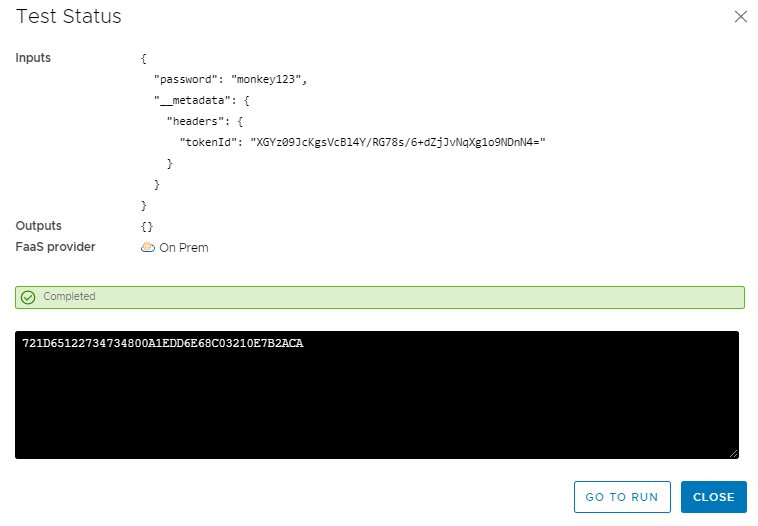
I can now hit Save and finally I can click Test. You should see the ABX Action deploying followed by running.

If you select See details you can see the status and results.
Conclusion
Creating packaged PowerShell code as a ZIP file is a great way to solve dependencies issues with modules when you don’t have Internet access on the vRealize Automation appliances to the PowerShell Gallery. It is also an alternative to having to constantly downloading modules from an external repository, which can help speed up execution time.
One caveat using packaged zip code is that you unfortunately can’t view the code in ABX. If you need to make changes to your code you will have to do that outside of vRA. Followed by creating a new zip package and re-importing that into your ABX Action.
While this is useful I can see it becoming difficult to manage. For example if I had 5 ABX actions that used a powershell module, do all 5 ABX actions need to have the same module imported? If that module is then updated, do I need to repackage each ABX up again with the new version of the module?